Guides14 Oct 20265 min read
How to build an AI image workflow in Sloosh: your first Space
Wire a product photo, a prompt and an image model in Spacelab, test it once, then publish it as a Space anyone on your team can run from a form.

To build an AI image workflow in Sloosh, open Spacelab, add an Image Input and a Prompt, wire both into an Image Model, press Run to test it, then Publish. Sloosh turns the canvas into a Space: a form where someone uploads a photo, presses Generate and gets the same kind of result every time. The video does it in about a minute.
What you're building
A Space that takes one product photo and puts the product on a sunny beach towel. It has three nodes:
- An Image Input for the product photo. This becomes the upload field on the form.
- A Prompt that describes the scene. It stays the same for everyone who runs the Space.
- An Image Model that reads both and makes the picture.
The video uses a mug. Any product photo works.
Step 1: Start in Spacelab
Press Spacelab in the top bar. It opens a new, empty canvas with a Describe A New Idea box, and your recent canvases under Continue Your Work. You could type an idea and let Sloosh build a first version, but building by hand once shows you how the parts fit. Every step on the canvas is a node.
Step 2: Add inputs
Press + in the bottom toolbar and add an Image Input. Drop your product photo onto it to test with, and rename the node "Product photo": a node's name becomes the field's label on the form.
Then add a Prompt. Models in Spacelab have no prompt box of their own, so the prompt is its own node that you wire in. This is the one from the video:
This mug on a sunny beach towel, summer light, soft shadows, product photo.
Step 3: Wire a model
Add an Image Model. Drag from the photo's output into the model's reference images, and from the Prompt into the model's Prompt port. Ports only take their own type, so an image can't land in a text port by mistake.
Step 4: Run it
Run, at the bottom right, shows what one run costs before you press it. When it finishes, your test result sits on the model node and in the Run panel. Change one word in the prompt and run again until you like it. To rerun only the model, use the Run button on the node itself.
Step 5: Publish
Publish opens a panel with three tabs: Details, Form and Agents.
- Details. Press Autofill based on my canvas workflow and Sloosh writes the name, slug, tagline and description from your canvas. In the video it named the Space "Beach Mug Shots". Edit anything it wrote. The slug can only be edited once, so check it.
- Form. This is what people fill in. Each field comes from an input node. Mark each one Required or Optional. Left blank, an optional field runs with what you set on the canvas.
- Showcase and visibility. Pick at least one finished run to show on the Space's page. Also publish to community lists the Space for everyone; untick it to keep it in your workspace. A public Space needs at least one sample output.
Press Publish. Sloosh packages the canvas, and your Space is live with its own sloo.sh/s/... link.
Step 6: Run your Space
Open the Space from the confirmation panel. On the left is the form, asking only for the product photo. Upload one and press Generate, which shows the cost first. The result lands in the Generations tab on the same page. Next time you need this shot, open the Space instead of the canvas, or send the link to your team.
Make the prompt work for any product
The video's prompt says "this mug" because the test photo is a mug. If the Space should work for bags, bottles or shoes too, name the product by its role and say what must stay the same:
Place the product from the photo on a striped beach towel in the sand, bright summer light, soft shadows, product photo. Keep the product's colour, shape and logo exactly as they are.
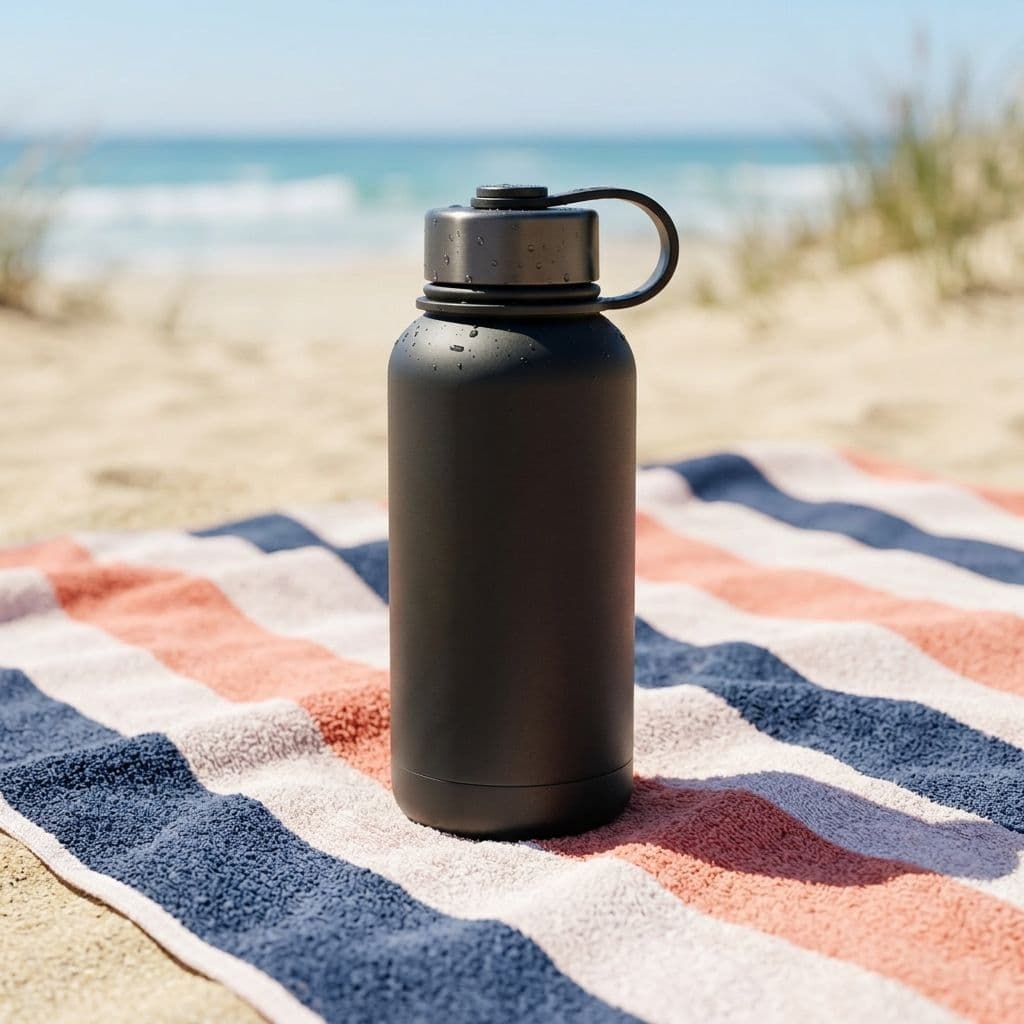
Telling the model what must not change is the same advice the References guide gives for product shots.
Where to go next
- Add an Upscaler after the Image Model for a sharper finish. What is Spacelab walks through that four-node version.
- How Spacelab works covers wiring, running single nodes and which nodes cost credits.
- Not sure you need a canvas at all? Read Space vs Spacelab.
- For one-off pictures, Sloosh Studio is quicker.
- Browse Spaces others have published, or Templates you can recreate.
- Plans are on Pricing.
Questions
- Do I need a paid plan to publish a Space from Spacelab?
- No. Every Sloosh workspace can publish a Spacelab canvas as a Space. It goes to your workspace first, and Also publish to community lists it for everyone.
- How do I know what a run will cost?
- Spacelab's Run button shows what one run costs before you press it, and a published Space shows its cost on the Generate button. New workspaces start with 20 free credits, and plans are on the Pricing page.
- Why won't Spacelab let me publish my canvas?
- Publish refuses a canvas with no form field, no node that makes something, or nothing that ends in a result. Wire an input node such as Image Input into the flow and end it on the node that makes your picture.
- Can people who run my Space type part of the prompt?
- Yes. Wire a Text Input into a Prompt variable. The Prompt never becomes a form field, but the Text Input does, and its words fill the variable when the Space runs.
- Can I stop other people copying my canvas?
- Yes. When you publish, tick Hide canvas from people who use this space. Visitors can still run the Space from its form, but they can't open or remix the canvas behind it.
Try it in Sloosh
Make an image in Studio with what you just read.